Happy Birthday DIY Card: A Creative Way to Express Your Love
Birthdays are a special occasion that deserves to be celebrated with love and joy. A heartfelt DIY card is a thoughtful way to show your friends and family how much you care. With a few simple materials and a little creativity, you can create a unique and beautiful card that will make their day. In this comprehensive guide, we’ll provide a step-by-step guide on how to make a DIY birthday card, explore its history and significance, and offer expert tips to enhance your creations.
Throughout history, cards have been an integral part of celebrating birthdays. The tradition dates back to ancient Egypt, where papyrus scrolls were exchanged to convey greetings and well wishes. In the 15th century, the first printed birthday cards appeared in Germany, and by the 19th century, they had become a global phenomenon. Today, DIY birthday cards are a popular choice for those who want to add a personal touch to their greetings.
Materials You’ll Need for a DIY Birthday Card
Before we dive into the step-by-step guide, let’s gather the essential materials you’ll need:
- Cardstock or thick paper
- Scissors
- Glue or tape
- Decorative elements (e.g., ribbons, sequins, stickers)
- Writing implements (e.g., pens, markers)
Step-by-Step Guide to Creating a DIY Birthday Card
Step 1: Choose a Design and Gather Materials
Start by selecting a design for your card. Consider the recipient’s personality and interests when choosing colors, patterns, and decorative elements. Once you have a design in mind, gather the necessary materials and workspace.
Step 2: Create the Card Base
Fold a piece of cardstock or thick paper in half to create the base of your card. Trim any excess paper around the edges to ensure a clean and professional look.
Step 3: Design the Front
This is where your creativity can shine. Choose decorative elements that align with your design and adhere them to the front of the card. You can use ribbons, sequins, stickers, or even create your own cut-outs from patterned paper.
Step 4: Personalize the Inside
Write a sincere and heartfelt message inside the card. Include a personal anecdote or memory that you share with the recipient to make it even more meaningful. You can also add a special quote or poem to inspire and uplift them.
Step 5: Add Finishing Touches
Enhance your card with additional decorative embellishments or add a touch of elegance by stamping the card with a personalized message. You can also consider layering different elements to create a 3D effect.
Expert Tips for Creating Stunning DIY Birthday Cards
1. Choose High-Quality Materials:
Using sturdy cardstock and high-quality decorative elements will ensure that your card lasts and is cherished by the recipient. Avoid flimsy paper or cheap embellishments that may tear or fade easily.
2. Plan Your Design in Advance:
Sketch out your design on a separate piece of paper before starting to cut or glue. This will help you visualize the final product and make necessary adjustments before committing to your materials.
3. Be Creative with Embellishments:
Don’t limit yourself to traditional birthday decorations. Explore your local craft store or online retailers for unique and eye-catching embellishments to add a personal touch to your card.
4. Use Layering and Dimension:
Create depth and interest by layering different decorative elements. You can cut out shapes from patterned paper, add fabric, or even use 3D stickers to give your card a dynamic and sophisticated look.
5. Personalize the Message:
Make your card truly special by including a personalized message that reflects your unique bond with the recipient. Share a funny story, an inside joke, or a heartfelt wish that will resonate with them.
FAQ on DIY Birthday Cards
Q: What size should a DIY birthday card be?
A: Traditional birthday cards are typically 5×7 inches, but you can choose a size that best suits your design and the recipient’s preferences.
Q: What is the best type of paper to use for a DIY birthday card?
A: Cardstock is the most popular choice for DIY birthday cards as it is sturdy and provides a good base for embellishments. You can also use watercolor paper, parchment paper, or specialty papers with unique textures or patterns.
Q: Can I use digital designs for my DIY birthday card?
A: Yes, you can print digital designs onto cardstock or specialty paper to create a more sophisticated look. Just ensure that you have high-resolution images and that your printer settings are optimized for the type of paper you’re using.
Conclusion
Creating a DIY birthday card is a thoughtful and creative way to celebrate your loved ones. With a little planning and the right materials, you can craft a unique and heartfelt card that will be cherished for years to come. Whether you’re a seasoned crafter or a beginner looking to add a personal touch to your greetings, this comprehensive guide has provided you with the tools and inspiration you need. So, get ready to spread joy and create a memorable birthday celebration for your special someone.
We hope this article has been informative and helpful. If you enjoyed it, please share it with others who may find it valuable. We encourage you to explore our website for more inspiring ideas and practical tips on a wide range of topics.
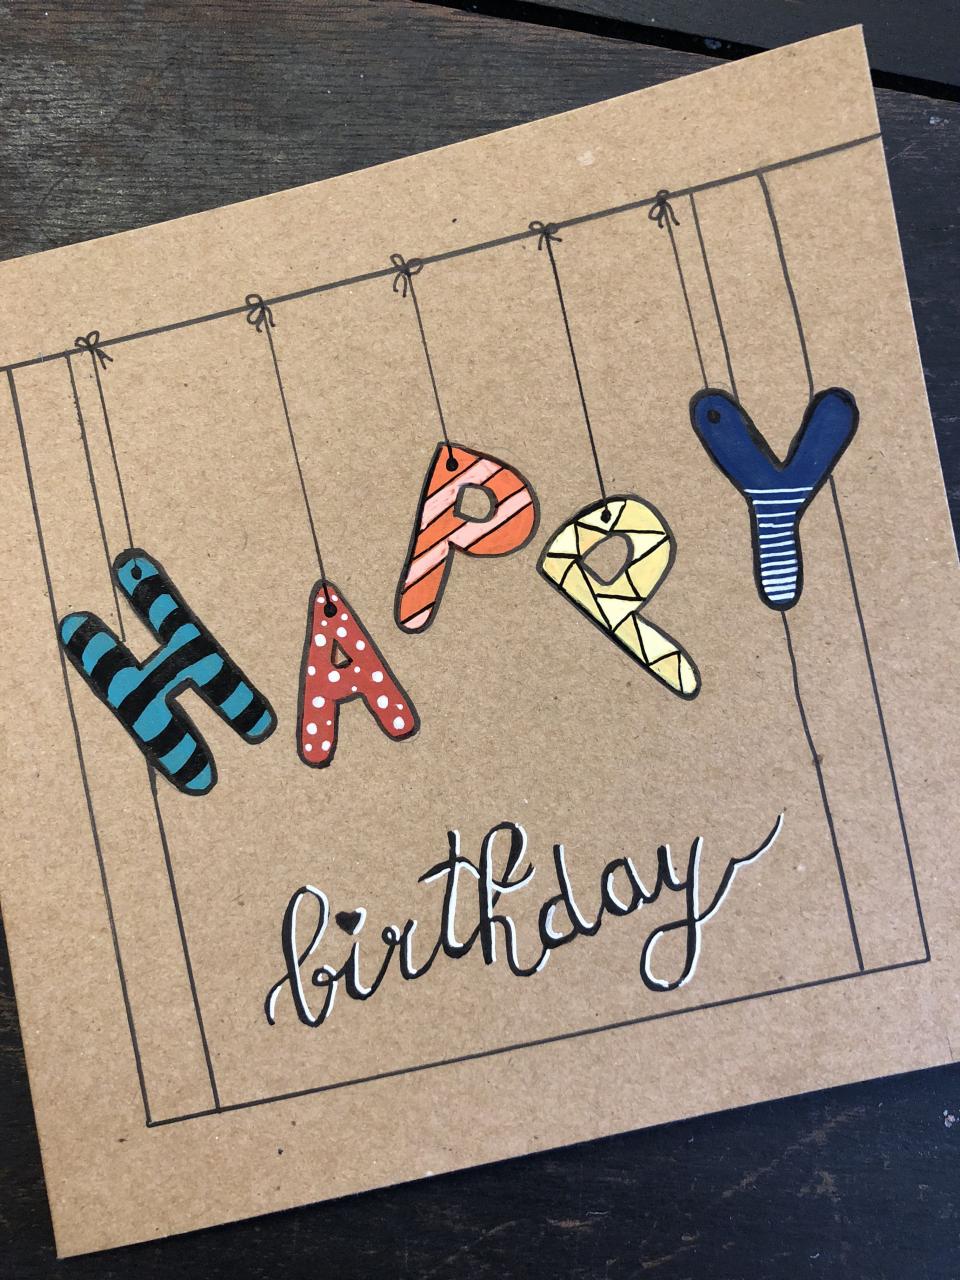
Image: www.pinterest.fr